
Comprehensive Guide to UPVC Panel Installation
UPVC (Unplasticized Polyvinyl Chloride) panels have actually gotten tremendous popularity recently due to their resilience, sustainability, and visual appeal. These panels are commonly used for walls and ceilings in homes and commercial areas. This article checks out the advantages of UPVC panels, the installation process, and answers some frequently asked concerns to supply property owners and DIY lovers with a comprehensive understanding of upvc Door Panel Solutions installation (http://sitamge.ru/index.php?subaction=userinfo&user=bowlpaul1).
Why Choose UPVC Panels?
UPVC Door Repair panels come with numerous benefits, making them a perfect option for various applications. Here are some essential benefits:
Durability: UPVC is resistant to weather, corrosion, and insects, which suggests that panels can last for decades without significant wear.
Low Maintenance: Unlike wood or traditional materials, UPVC panels require very little maintenance. They can be cleaned quickly with soap and water.
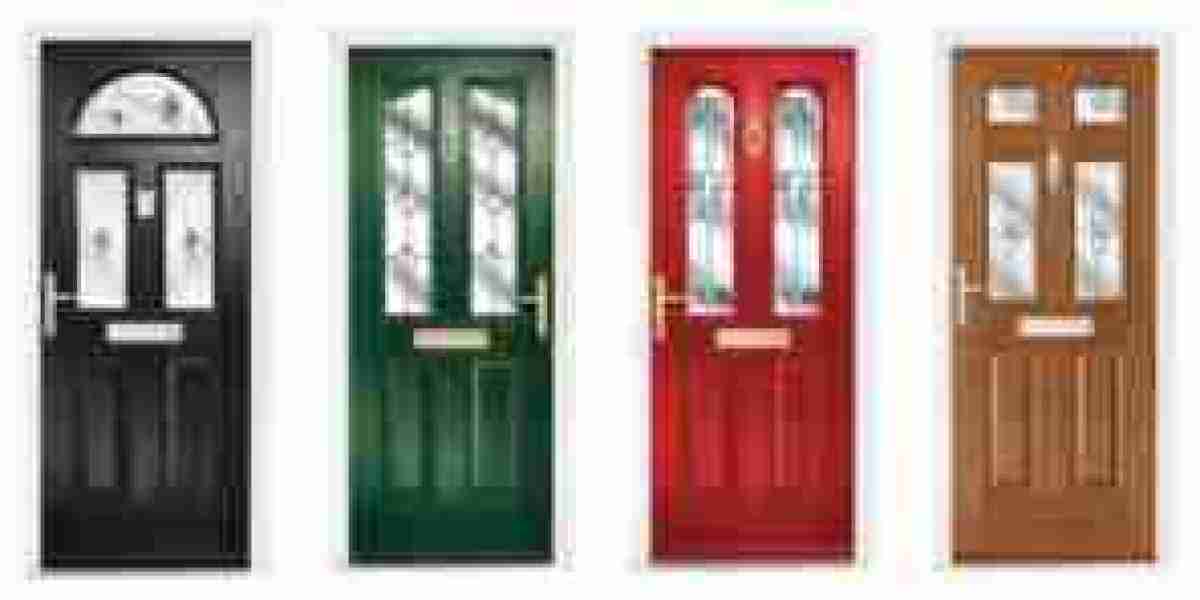
Aesthetic Variety: UPVC panels are offered in a large range of colors, patterns, and finishes, permitting property owners to select choices that match their design choices.
Energy Efficiency: UPVC Door Panels Near Me panels have good insulation properties, assisting to keep comfortable indoor temperatures and potentially lowering energy expenses.
Water Resistance: Ideal for damp environments such as kitchen areas and restrooms, UPVC panels do not soak up wetness.
Steps for UPVC Panel Installation
Products Needed
Before beginning the installation, gather the following materials:
- UPVC panels
- UPVC trims and corners
- Adhesives (specific for UPVC Door Panel Customization)
- Screws and wall plugs
- Measuring tape
- Level
- Energy knife
- Straightedge
- Drill
- Security gear (gloves, safety glasses)
Installation Process
The installation process of UPVC panels is fairly simple. Here's a detailed guide:
Preparation:
- Measure the location where you plan to install the panels. Take accurate measurements to determine the number of panels needed. Create a design strategy to picture the installation.
Surface Preparation:
- Ensure that the wall or ceiling surface area is tidy, dry, and devoid of any particles. If needed, repair any imperfections to create a smooth base.
Cutting Panels:
- Using an utility knife and a straightedge, thoroughly cut the UPVC panels to the required sizes based upon your measurements. Make sure to wear protective equipment when cutting.
Applying Adhesive:
- Apply the suggested UPVC adhesive on the back of the panel. If screws will be used, guarantee that the adhesive is suitable with them.
Placement of Panels:
- Position the very first panel versus the wall or ceiling, utilizing a level to ensure it's straight. Press firmly and hold it in location for a few minutes. If you're utilizing screws, secure the panel by drilling screws into the required points.
Continuing Installation:
- Repeat the procedure for the subsequent panels. Make sure that they fit comfortably together, and use trims for a seamless surface.
Cutting and Sealing:
- Once all panels remain in location, use UPVC trims and corners to cover edges and joints for a sleek appearance. Likewise, think about applying sealant in any spaces to boost water resistance.
Last Touches:
- Inspect the installation for any misalignments or spaces. Make needed adjustments or apply extra adhesive or sealant as required.
Maintenance of UPVC Panels
After installation, preserving UPVC panels ensures durability. Here are some helpful pointers:
- Regular Cleaning: Use a wet fabric or sponge with moderate detergent to clean the surface areas.
- Prevent Harsh Chemicals: Steer clear of abrasive cleaners that might scratch or damage the surface area.
- Regular Checks: Periodically evaluate the stability of the panels and trims for any signs of wear or damage.
FAQs on UPVC Panel Installation
Q1: Can UPVC panels be set up over existing tiles?A1: Yes, UPVC panels
can be installed over existing tiles and other smooth surface areas. Ensure that the underlying surface is tidy and level. Q2: What adhesive is best for UPVC panel
installation?A2: A specific UPVC adhesive or a strong building adhesive
that works with plastics is advised. Constantly examine the manufacturer's instructions. Q3: How do I cut UPVC Door Repair panels?A3: UPVC panels can be cut easily with an utility knife and straightedge.For more accurate cuts, a jigsaw or circular saw with a fine-toothed blade may likewise be used. Q4: Are UPVC panels waterproof?A4: Yes, UPVC panels are water resistant and resistant to moisture, making them ideal for usage in restrooms, cooking areas, and other humid environments. Q5: Can I install UPVC panels myself?A5: Yes,
with fundamental tools and products, UPVC panels can be set up by homeowners. However, following the maker's guidelines thoroughly is crucial for an effective installation. UPVC panels offer a practical and
visually pleasing service for different indoor applications. Comprehending the installation process and maintenance practices can assist property owners achieve spectacular results with these flexible panels.
Their resilience, low maintenance, and variety of styles make UPVC panels a beneficial investment, boosting the appearance and functionality of any space. By following this helpful guide, people interested in UPVC panel installation can with confidence embark on their tasks, making educated options every step of the method.