Introduction
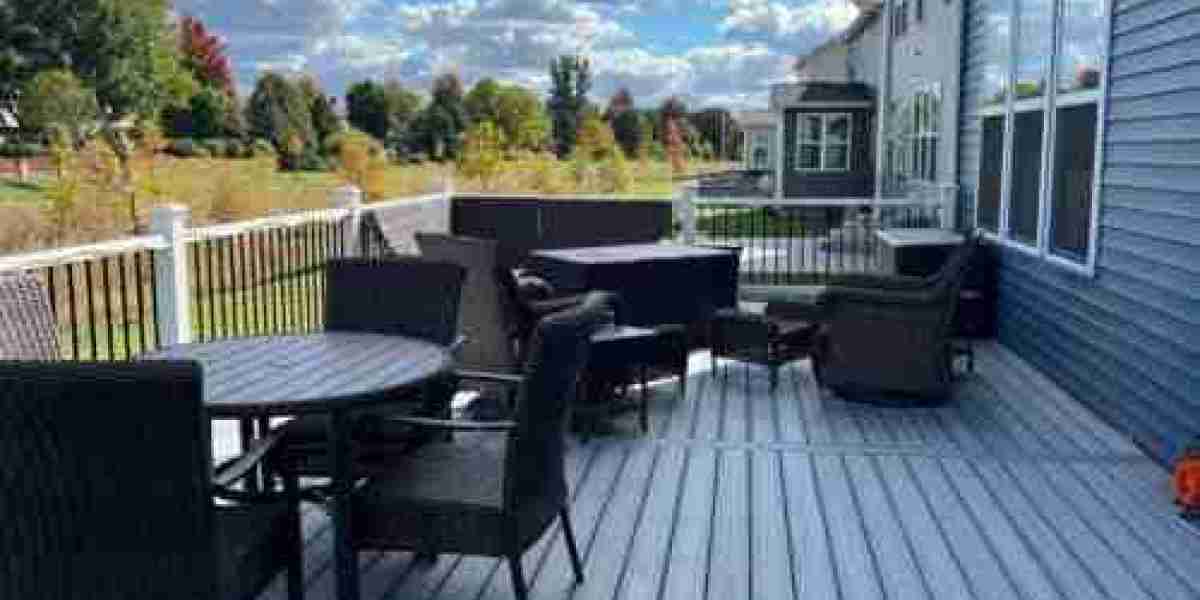
A deck is more than just an outdoor extension of your home. It’s a versatile area that can be customized to meet your lifestyle needs, whether it’s a quiet reading nook or a space for weekend barbecues. Building your own deck combines creativity and practicality, letting you design a structure that suits your space and budget. This guide breaks down every step in the process to ensure you’re equipped with the knowledge and confidence to complete the project on your own.
Step 1: Planning Your Deck
Proper planning is the cornerstone of a successful DIY deck. Take time to consider the following:
Purpose and Design: Determine how to build a deck and its ideal size and layout. Will it be a dining area, a place for lounging, or a multi-use space?
Material Selection: Choose materials that match your budget, climate, and aesthetic preferences. Common options include pressure-treated wood, composite decking, and natural hardwoods.
Building Codes and Permits: Research local regulations and secure any necessary permits before beginning construction.
A well-drafted blueprint is essential for visualizing your deck. Online tools and free design software can help you create detailed plans, ensuring you have a clear roadmap for construction.
Step 2: Preparing the Site
Preparation is key to ensuring your deck’s stability and longevity. Start by selecting a level location with good drainage. Clear the site of any grass, debris, or rocks, and mark the area using stakes and string to outline the deck’s dimensions. Compacted soil or a gravel base will provide a stable foundation for your deck’s support system.
Step 3: Laying the Foundation
The foundation supports the entire structure, so accuracy is critical. Options include:
Concrete Footings: Ideal for elevated decks or areas prone to heavy rainfall.
Deck Blocks: Suitable for ground-level decks and quick installations.
Floating Decks: Popular for DIYers, these are built without digging and are less permanent.
Use a level to ensure the foundation is even and secure the posts or blocks firmly to prevent shifting over time.
Step 4: Building the Frame
The frame is the backbone of your deck, consisting of:
Ledger Board: Attached to your home to anchor the deck.
Joists: Horizontal supports that form the deck’s skeleton.
Beams: Provide additional stability, especially for larger decks.
Use galvanized screws or bolts to assemble the frame. Double-check measurements and alignment to avoid issues during the later stages.
Step 5: Installing Decking Boards
Once the frame is complete, you’re ready to add the decking boards. Lay them perpendicular to the joists, leaving small gaps for water drainage and wood expansion. Secure the boards with screws or hidden fasteners for a clean finish.
Tip: Start laying boards from one corner and work outward to avoid uneven cuts. Trim any excess board length after installation.
Step 6: Adding Railings and Stairs
Railings enhance safety and elevate your deck’s aesthetic appeal. Choose materials that match your deck’s style, such as wood, metal, or glass. Securely attach posts to the deck before installing the railing panels or balusters.
For elevated decks, stairs are a functional and stylish addition. Ensure the steps are evenly spaced and meet local safety codes.
Step 7: Finishing Touches
Protect your deck with a finish that suits your climate and desired appearance. Options include:
Staining: Enhances the wood’s natural grain and provides UV protection.
Painting: Offers vibrant color options and complete surface coverage.
Sealing: Adds a clear protective layer to prevent water damage.
Apply the finish using a brush or roller, and allow it to dry completely before using the deck.
Step 8: Maintenance and Longevity
Regular upkeep ensures your deck remains in great condition for years. Clean it with a deck cleaner annually, inspect for loose screws or damaged boards, and reapply stain or sealant every few years.
Maintenance Checklist:
Sweep away debris regularly.
Power wash to remove dirt and mold.
Tighten any loose hardware.
Replace damaged boards promptly.
Real-Life Reviews
Emma’s Deck Adventure "Building a deck seemed overwhelming, but breaking it into manageable steps made it doable. Watching tutorials and asking for advice on forums gave me confidence. My deck turned out better than I imagined, and it’s now the favorite spot in my home."
Ryan’s First DIY Deck "The hardest part was the foundation, but it’s the most important step. Taking extra time to ensure everything was level paid off. The satisfaction of completing the project with my own hands was worth every challenge."
Sophia’s Backyard Transformation "I used composite decking to reduce maintenance and loved the result. My advice: Don’t rush the planning phase. A well-thought-out design saved me from costly mistakes down the line."
Common Challenges and Solutions
Uneven Ground: Use a laser level or adjust footings to compensate.
Budget Constraints: Opt for pressure-treated wood instead of composite materials.
Weather Delays: Plan your project during dry seasons to avoid interruptions.
Conclusion
Building your own deck is a rewarding experience that combines creativity, practicality, and skill. With careful planning, attention to detail, and a commitment to quality, you can create an outdoor space that enhances your home’s beauty and functionality. By following this guide and learning from others’ experiences, you’ll be well on your way to achieving a deck that’s both durable and uniquely yours. So, gather your tools, roll up your sleeves, and let the transformation begin


