UPVC Window Installation Ambattur
A Step-by-Step Guide
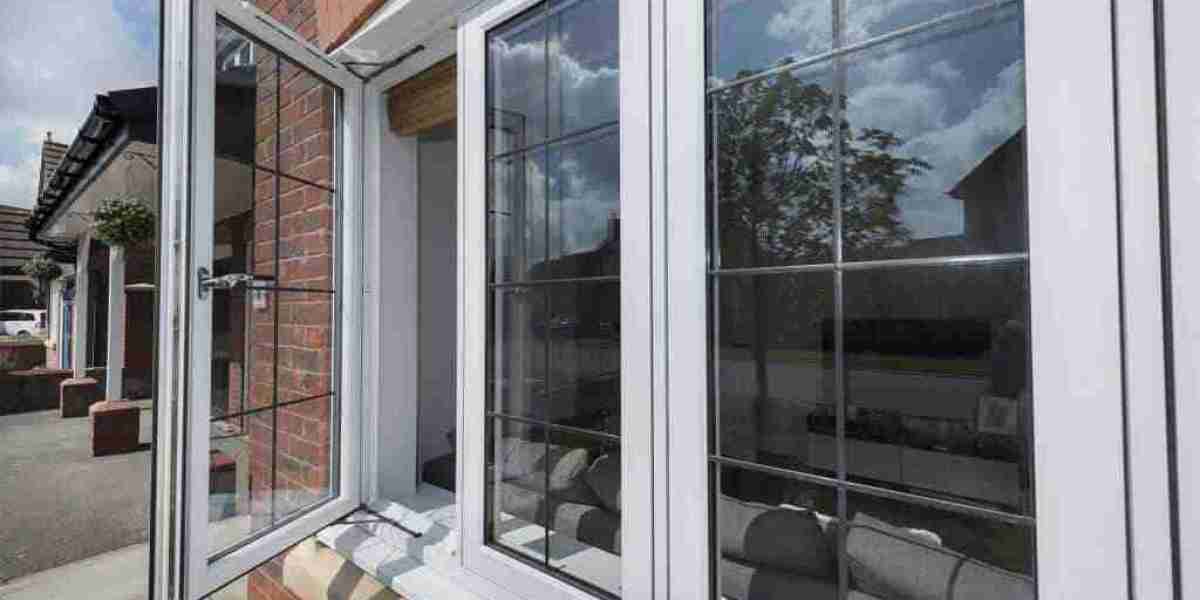
UPVC Window Installation Ambattur (Unplasticized Polyvinyl Chloride) windows is a great way to enhance the energy efficiency, security, and aesthetics of your home. These windows are durable, low-maintenance, and offer excellent insulation. Whether replacing old windows or installing new ones, following a systematic approach ensures a successful installation. Here’s a step-by-step guide to help you install UPVC windows efficiently.

Step 1: Gather Necessary Tools and Materials
Before starting the installation, ensure you have the following tools and materials:
Measuring tape
Spirit level
Drill and screws
Screwdriver
Sealant and sealant gun
Expanding foam
Safety gloves and goggles
Chisel and hammer
Step 2: Take Accurate Measurements
Measure the window opening carefully to ensure the new UPVC Window Installation Ambattur window fits perfectly. Measure the width, height, and depth at multiple points and note the smallest measurement. This helps avoid fitting issues during installation.
Step 3: Remove the Old Window
If replacing an existing window, carefully remove it without damaging the surrounding structure. Use a chisel and hammer to loosen the frame and take out the glass panels first. Then, remove the window frame by unscrewing or cutting through the fixings.
Step 4: Prepare the Opening
Once the old window is removed, clean the opening thoroughly. Remove debris, old sealant, and dust. Ensure the surface is level and smooth for a proper fit. If necessary, repair any damaged areas to provide a stable base for the new window.
Step 5: Position the UPVC Window
Place the new UPVC Window Installation Ambattur window into the opening to check the fit. Use a spirit level to ensure it is correctly aligned. If adjustments are needed, use shims or packers to level the frame.
Step 6: Secure the Window in Place
Drill pilot holes through the window frame into the surrounding wall structure. Secure the frame using appropriate fixings such as screws or anchors, ensuring it remains level throughout. Avoid over tightening, which may warp the frame.
Step 7: Apply Expanding Foam
To fill any gaps between the window frame and wall, apply expanding foam around the perimeter. This improves insulation and prevents drafts. Allow the foam to expand and cure as per the manufacturer’s instructions before trimming off any excess.
Step 8: Seal the Window Edges
Apply a high-quality sealant around the window edges to create a watertight and airtight seal. Smooth it using a sealant tool or finger for a neat finish. Ensure all gaps are properly sealed to prevent water ingress.
Step 9: Install Window Hardware and Glazing
If the window frame was installed separately, insert the glass panes carefully. Secure them using glazing beads and ensure they fit snugly. Attach window handles, locks, and other hardware components.
Step 10: Final Inspection and Cleanup
Check the window for smooth operation, ensuring it opens and closes properly. Inspect the seals, alignment, and insulation. Clean the frame and glass to remove dust or adhesive residues.
By following these steps, you can successfully install UPVC windows, enhancing your home’s energy efficiency, security, and appearance. If unsure, consult a professional installer to ensure a flawless finish.