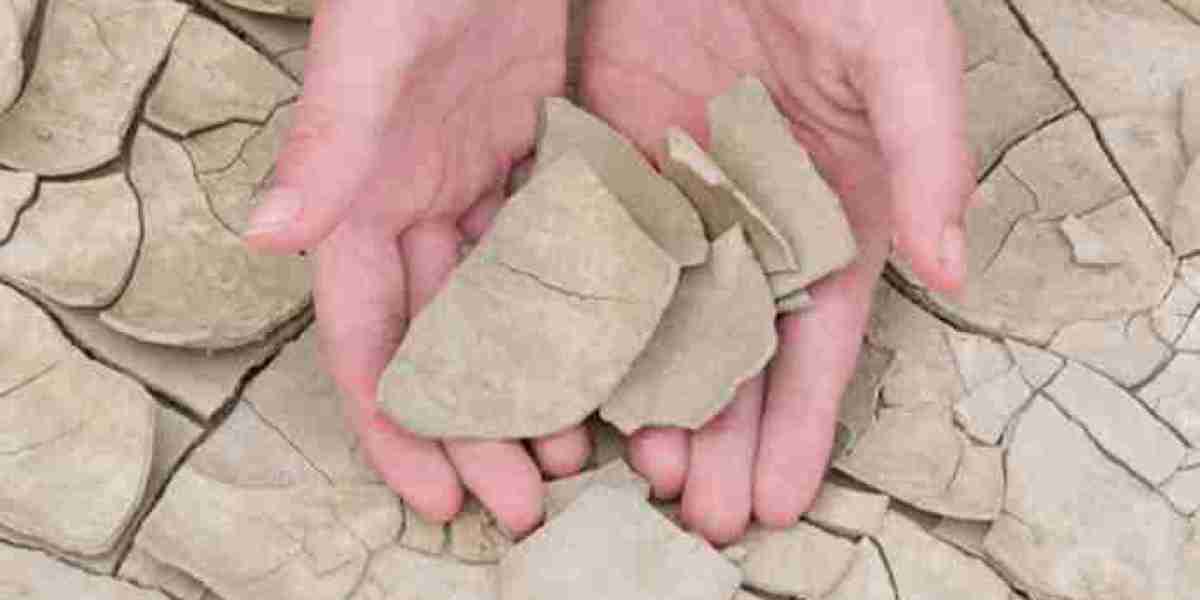
Sculpting with plastic clay is a rewarding and versatile form of art that spans functional pottery, decorative arts, and fine sculpture. Whether you’re a beginner or an experienced artist, understanding the full process helps streamline your workflow and elevate the final result. This guide breaks down the key stages of working with plastic clay, with a critical look at each step’s importance.
1. Choosing the Right Clay
Plastic clay comes in various forms, each with unique properties. Some are smooth and pliable, others coarse and firm. The right choice depends on the type of work you’re creating. For fine detail, a smoother clay works best. For larger pieces, a denser clay offers more structure. Semi Plastic Clay is often favored for its balance between workability and strength, making it ideal for both hand-building and wheel work.
2. Preparing the Clay
Before sculpting, clay must be properly prepared. This typically involves wedging — a kneading process that removes air bubbles and creates a consistent texture. Skipping this step can lead to cracking or explosion during firing. Think of it as warming up your medium, ensuring it responds predictably.
3. Building the Form
There are several techniques for shaping clay:
Pinching: Good for small, simple forms.
Coiling: Offers structural support for larger shapes.
Slab construction: Useful for geometric and architectural designs.
Wheel throwing: Allows symmetrical vessels and refined curves.
Each method requires a different level of skill and control. Beginners often start with pinching and coiling before moving to the wheel. Regardless of the method, keeping the clay at the right moisture level is key. Too dry, and it cracks; too wet, and it collapses.
4. Refining the Sculpture
Once the basic shape is built, it’s time to refine. This includes smoothing surfaces, correcting asymmetry, and adding detail. Sculptors use various tools: ribs, modeling sticks, loop tools, and sponges. At this stage, patience pays off. Rushing the refinement can result in a piece that looks amateurish or unbalanced.
Pay special attention to transitions between different parts of the sculpture. Seam lines, attachments, and joints should feel natural and integrated. Weak joins are one of the most common points of failure during firing.
5. Drying the Piece
Drying is not just waiting; it’s part of the sculpting process. Uneven or fast drying leads to cracks. Cover the sculpture loosely with plastic to slow the process, especially for complex shapes. Let it dry gradually to a bone-dry state before bisque firing.
Some artists use fans or heaters, but this should be done with caution. Control and consistency matter more than speed.
6. Bisque Firing
Once dry, the sculpture goes through a bisque firing, usually in an electric or gas kiln. This low-temperature firing (around 1730°F or 945°C) hardens the clay and prepares it for glazing. The bisque phase is crucial because it locks the form in place while still allowing it to absorb glaze.
Kiln safety and loading technique also matter. Pieces should not touch and should be placed with even spacing to ensure consistent heat exposure.
7. Surface Finishing and Glazing
With bisque ware ready, artists apply surface treatments: glazes, oxides, stains, or slips. Glazing transforms the sculpture visually and functionally. Application methods include dipping, brushing, spraying, or pouring. The thickness and layering of glaze affect color and texture.
Experimentation plays a big role here. Results vary based on glaze chemistry, application, and kiln atmosphere. Many artists rely on trusted recipes from industrial minerals suppliers for consistent results.
8. Glaze Firing
The final firing vitrifies the glaze and solidifies the sculpture. Temperature ranges from cone 5 to cone 10, depending on the clay body and glaze. It’s vital to match the glaze and clay compatibility to avoid defects like crazing or shivering.
During glaze firing, many variables affect outcome: heating rate, cooling rate, hold time, and kiln atmosphere. Even experienced artists can get surprises, making documentation and kiln logs important for future consistency.
9. Final Evaluation and Finishing Touches
After the piece cools, inspect it for cracks, glaze flaws, or warping. Minor surface imperfections can sometimes be sanded or cold-finished. However, major structural issues typically mean starting over.
Many artists also add post-firing finishes such as wax, gold leaf, or mixed-media elements. Mounting and display choices affect how the piece is perceived, especially for gallery or commercial presentation.
Conclusion
Sculpting with plastic clay is a layered process that requires planning, patience, and technical control. From choosing the right clay (like Semi Plastic Clay) to mastering the firing cycle, each step builds toward a final result that balances artistry and craftsmanship. The unpredictability of clay is part of its charm and challenge. Mistakes become lessons; repetition builds skill.
For those looking to refine their work, learning from other artists, taking workshops, and even consulting with industrial minerals suppliers for better materials can make a significant difference. Ultimately, the more intentional you are with each phase, the more satisfying your final piece will be.


